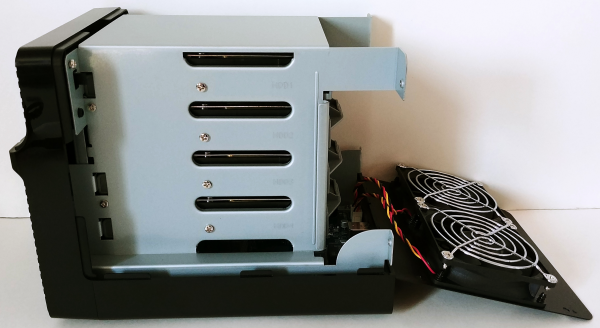
Before using the DS418j you will need to install a couple of hard drives or SSDs. To begin, remove the four trays from the device and mount the drives to them using the included screws. When you are done, slide the trays back into the empty drive bays.
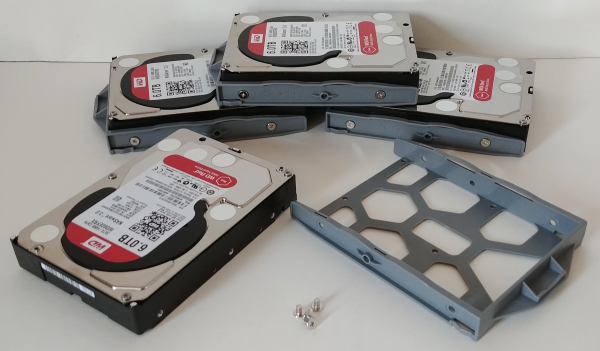
Instead of a locking mechanism, the DS418j relies on friction to keep the drive bays in place. This is fine for 2.5" hard drives and SSDs, but if are using heavier 3.5" hard drives, it's recommended that you secure the trays using the provided screws.
With the hard drives installed, you can now connect the AC adapter and network cable and turn the DS418j on. The device's power LED will flash for a few minutes and then will beep and light up a solid blue to indicate that it has started up successfully.
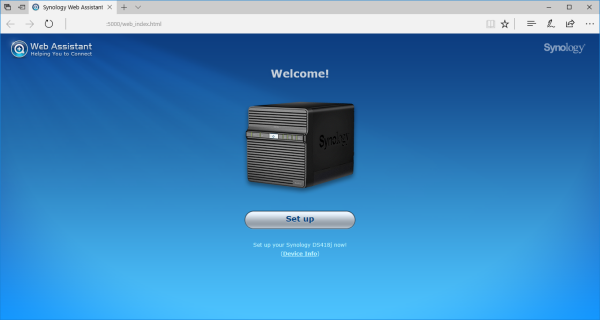
Once the DS418j is up and running, it will need to be configured. If you have a DHCP server on your network and you know what IP the NAS is using, you can skip the next few steps and connect directly to the web assistant. Otherwise, you'll need to download and install the Synology Assistant utility.
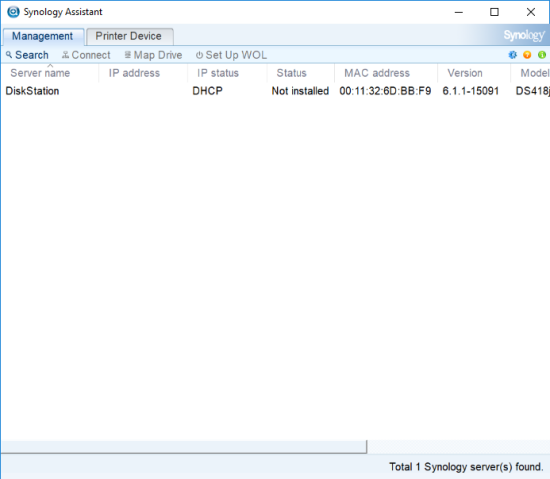
The Assistant utility searches the network looking for Synology NAS devices. When it finds one, it will display its host name, IP address, MAC address, model, firmware version and status. To configure the device, select it from the list and click "Connect." The Assistant utility will then launch your default browser and automatically connect you to the web assistant so that you can go through the setup process.
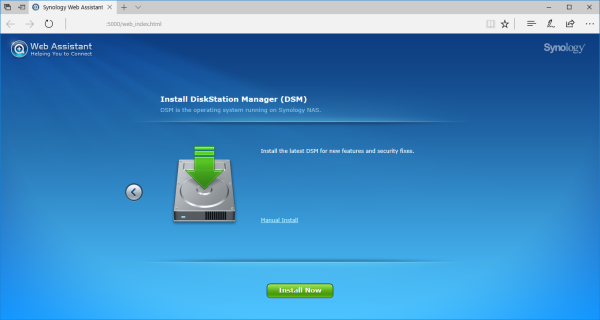
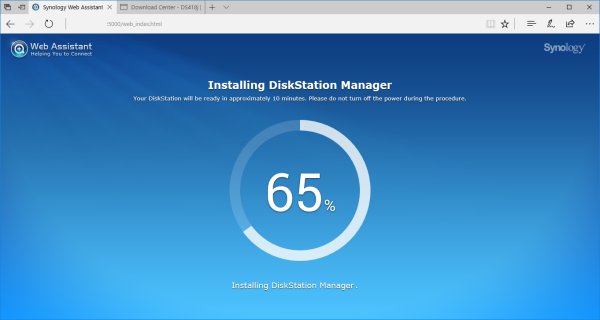
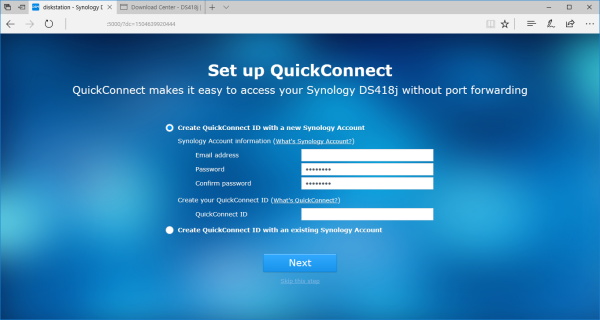
The web assistant takes you through the process of installing DiskStation Manager (DSM). From here you can specify the server name, create an administrator account and set up QuickConnect. All of these settings can be changed later from within the administrator page.

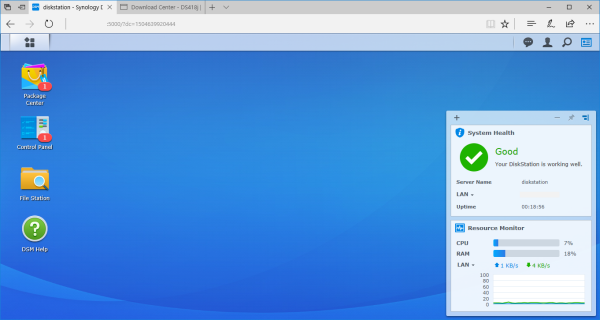
For whatever reason, the web assistant does not configure the DS418j's storage. As a result, you will need to login to DiskStation Manager and create at least one volume before it can be used to share files.
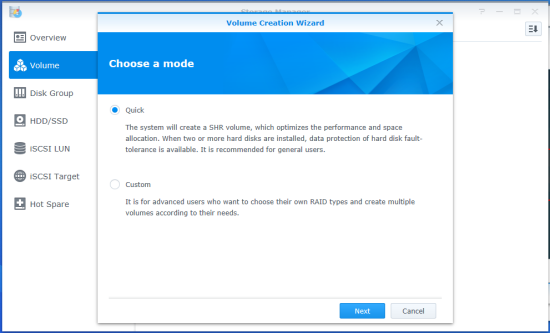
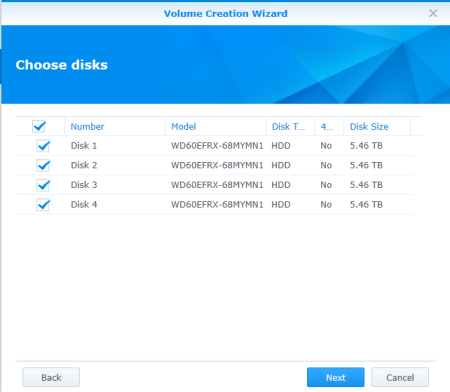
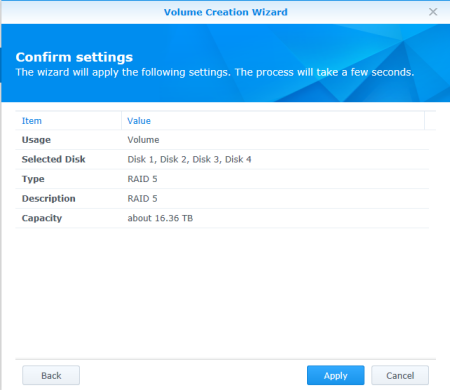
Creating a volume on the DS418j is pretty straight forward. The Volume Creation Wizard gives you two creation methods: Quick and Custom. The Quick option is recommended if you're short on time or you want to simplify your storage management. This option creates an SHR (Synology Hybrid RAID) volume and will automatically optimize capacity and performance based on member hard disks. If you're looking for more precise control of your storage, you'll want to go with the Custom option which offers support for different RAID types and lets you create single or multiple volumes.
 |
 |
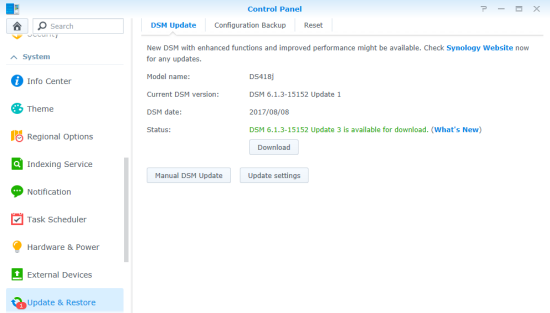
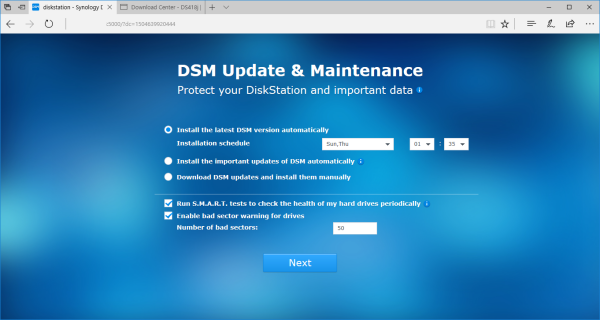
Synology is continuously improving its DiskStation Manager operating system. To take advantage of the latest fixes and features, you will need to update the DS418j's firmware. This can be done manually by uploading a firmware image file or through DSM's automatic update feature.